Behind every finished space is a sequence of careful, code-compliant steps. Here's a look at how we manage a renovation from bare walls to final finish — with the construction detail explained at each stage.
A beautiful finish is only as good as what's behind it. The steps below walk through a typical kitchen and bath renovation, from demolition and rough-in through waterproofing, tiling, and installation — so you understand exactly what you're paying for at every phase.
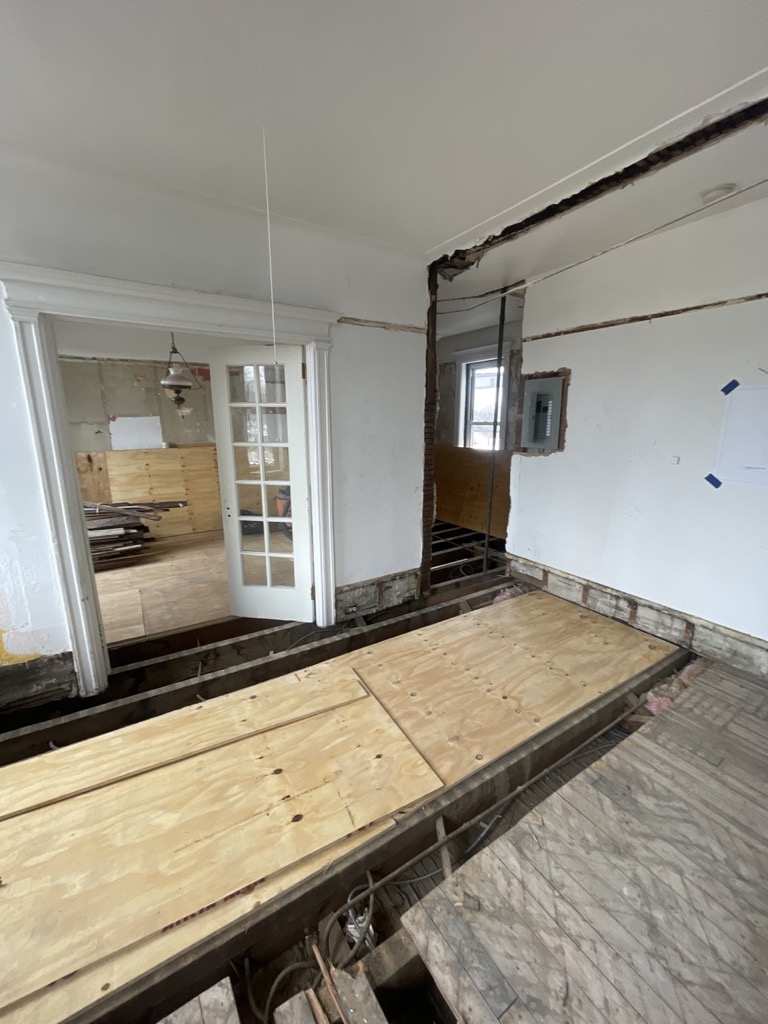
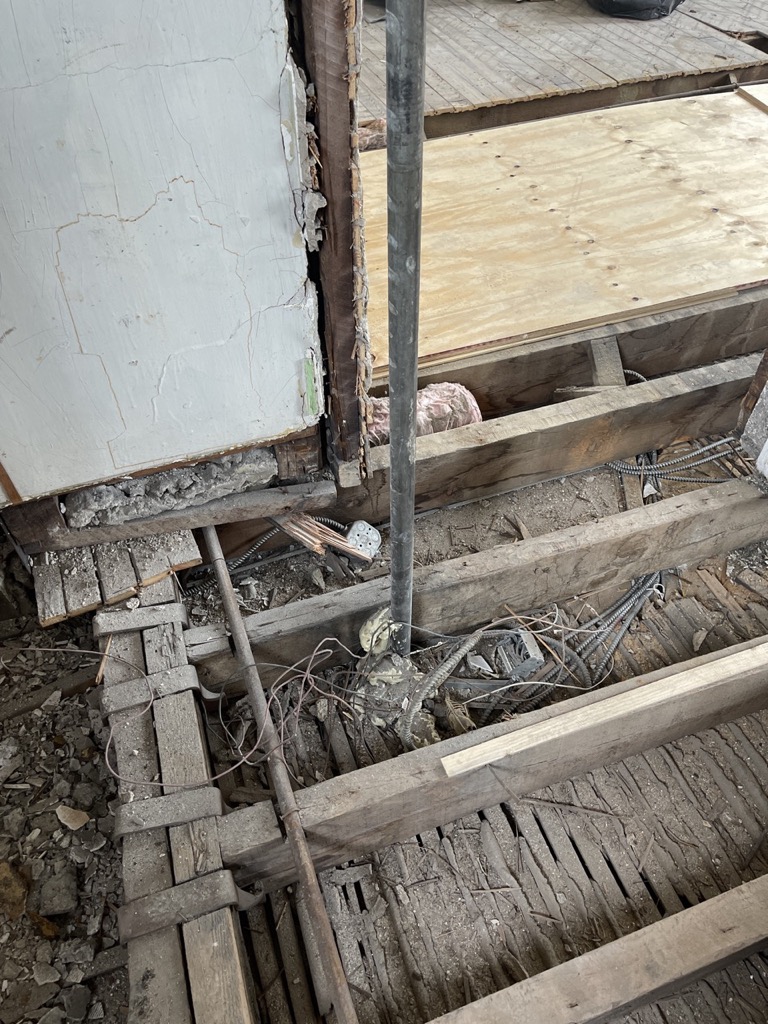
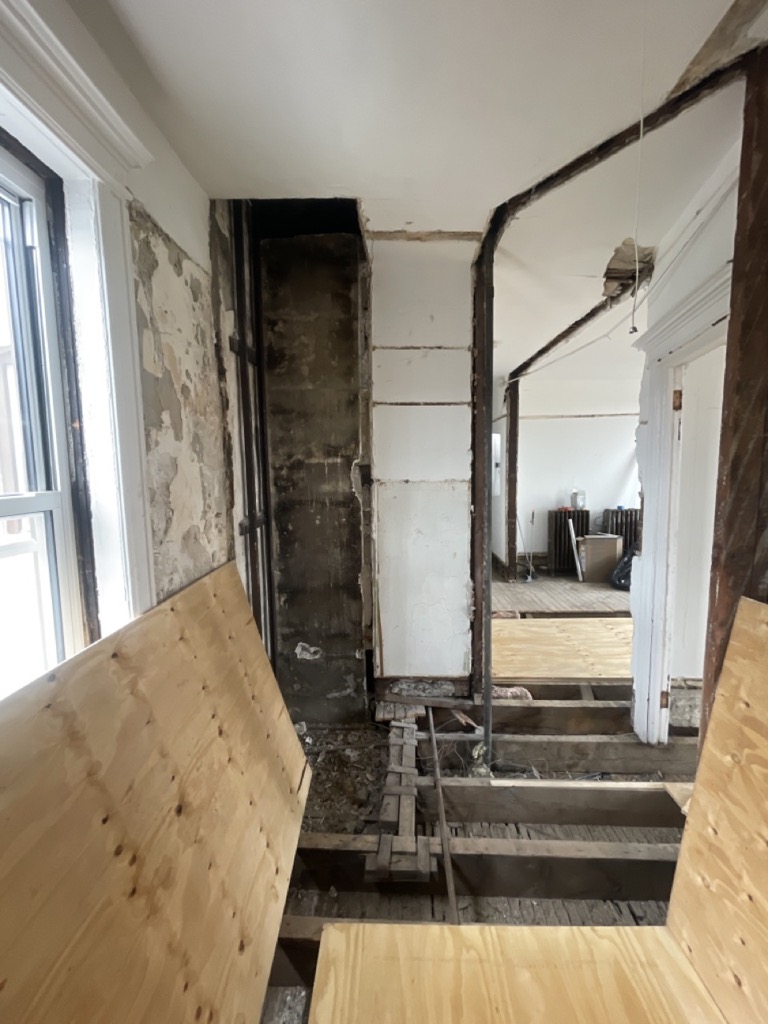
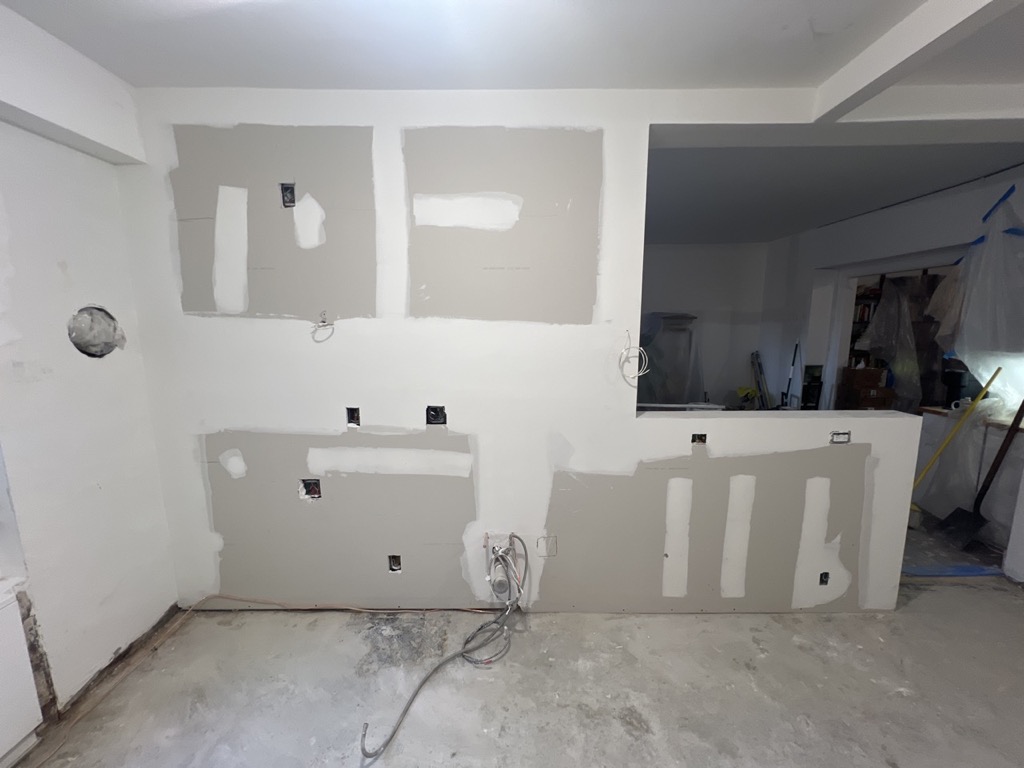
We remove old cabinetry, fixtures, and finishes down to the studs and subfloor. This is where hidden problems — water damage, outdated wiring, uneven framing — get exposed and addressed before they become expensive surprises later.
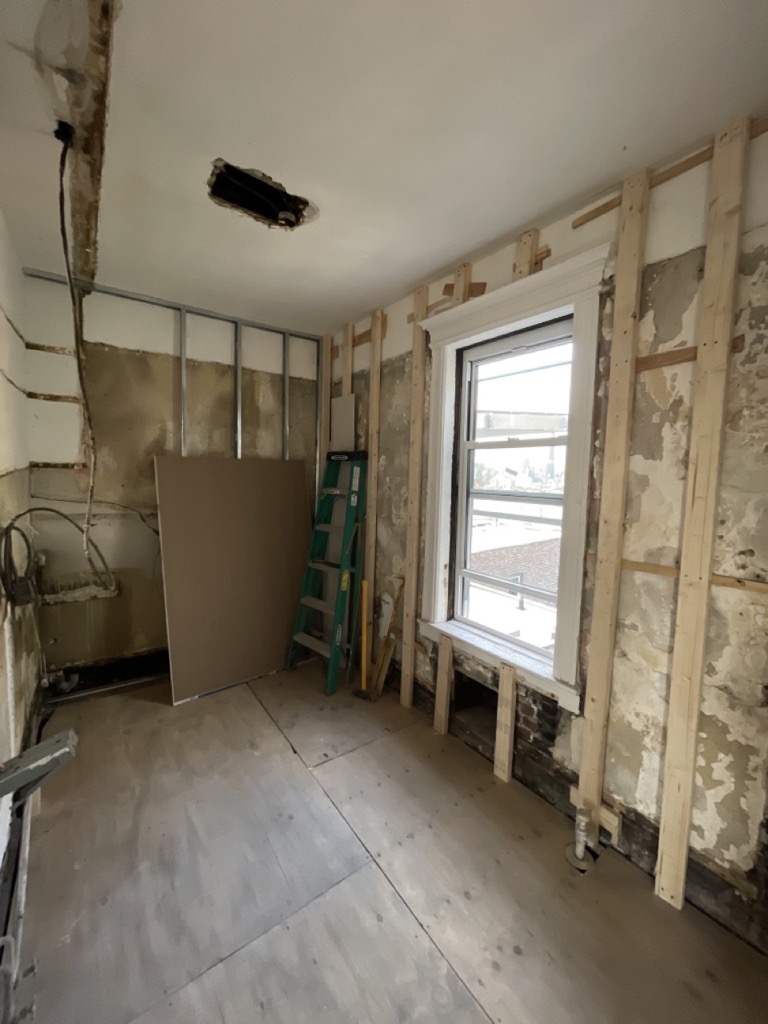
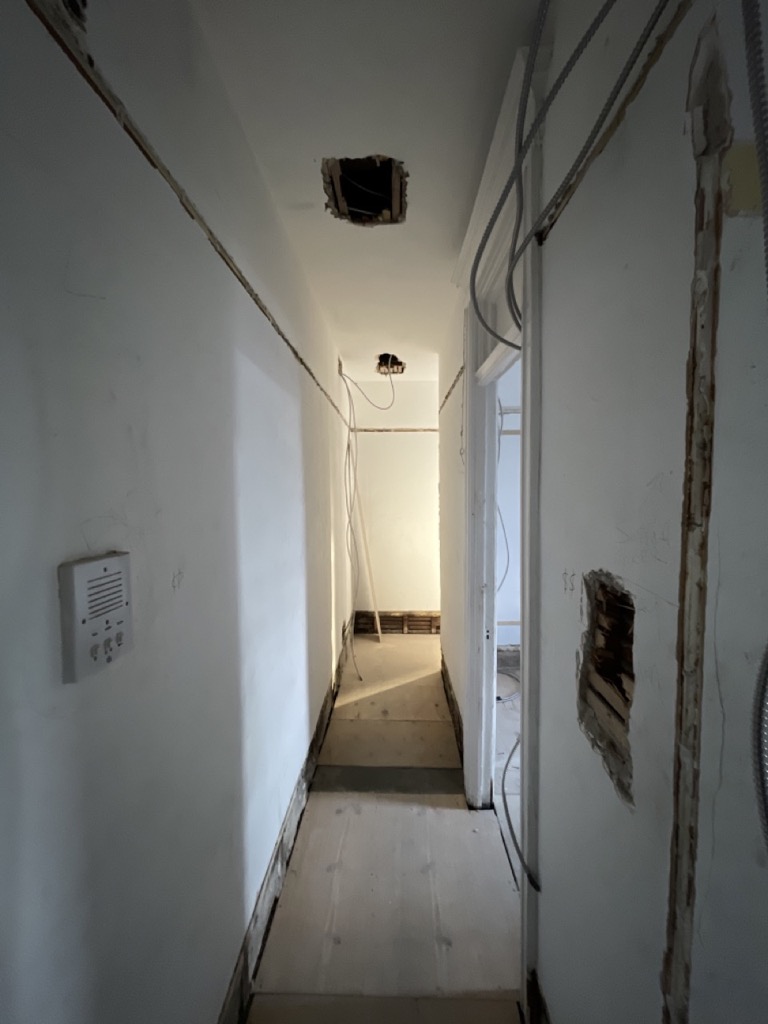
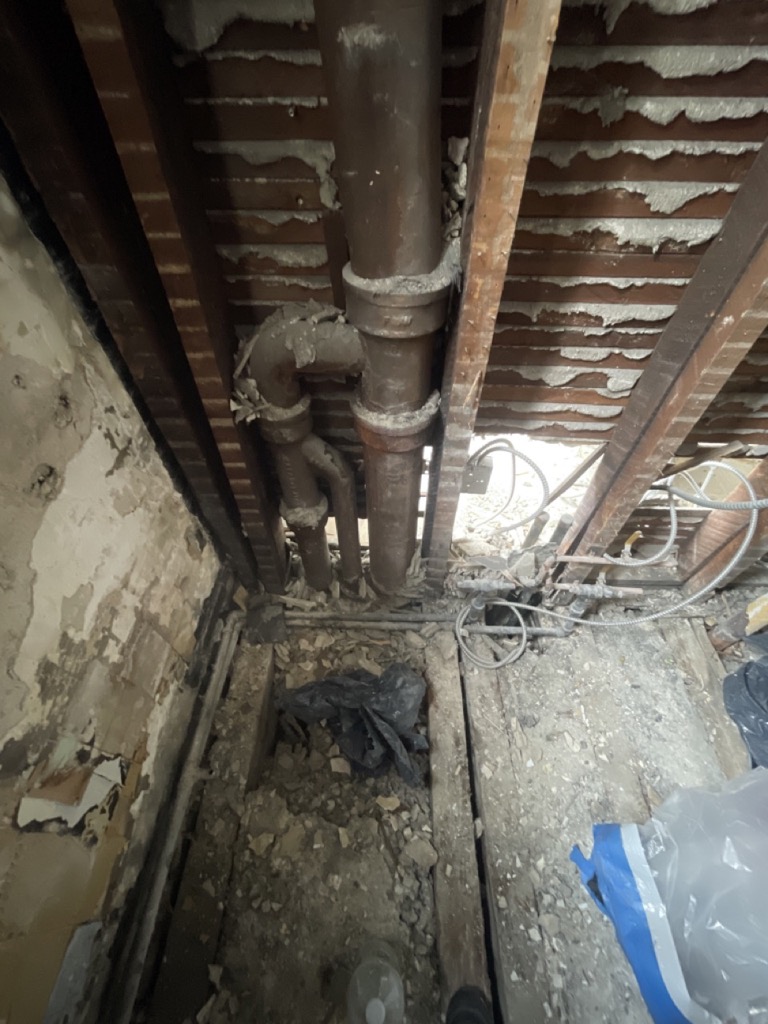
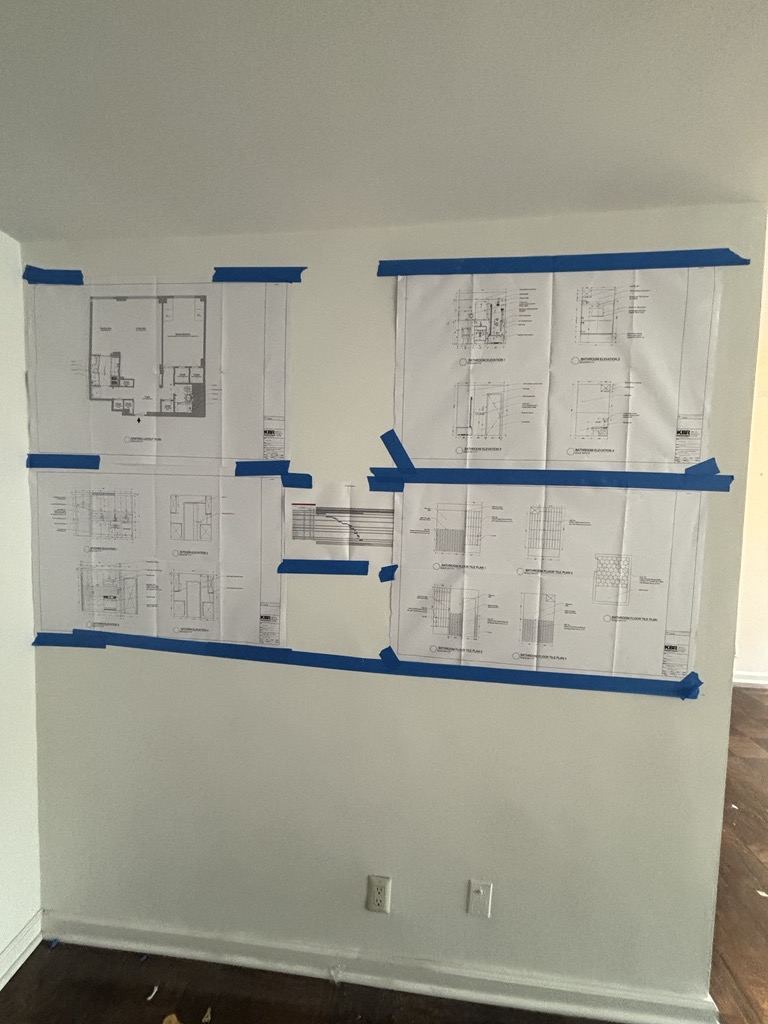
With the space opened up, we run new plumbing lines, electrical circuits, and any framing changes. Everything is positioned precisely against the approved design — outlet heights, fixture rough-ins, and appliance connections are all set now, not improvised later.
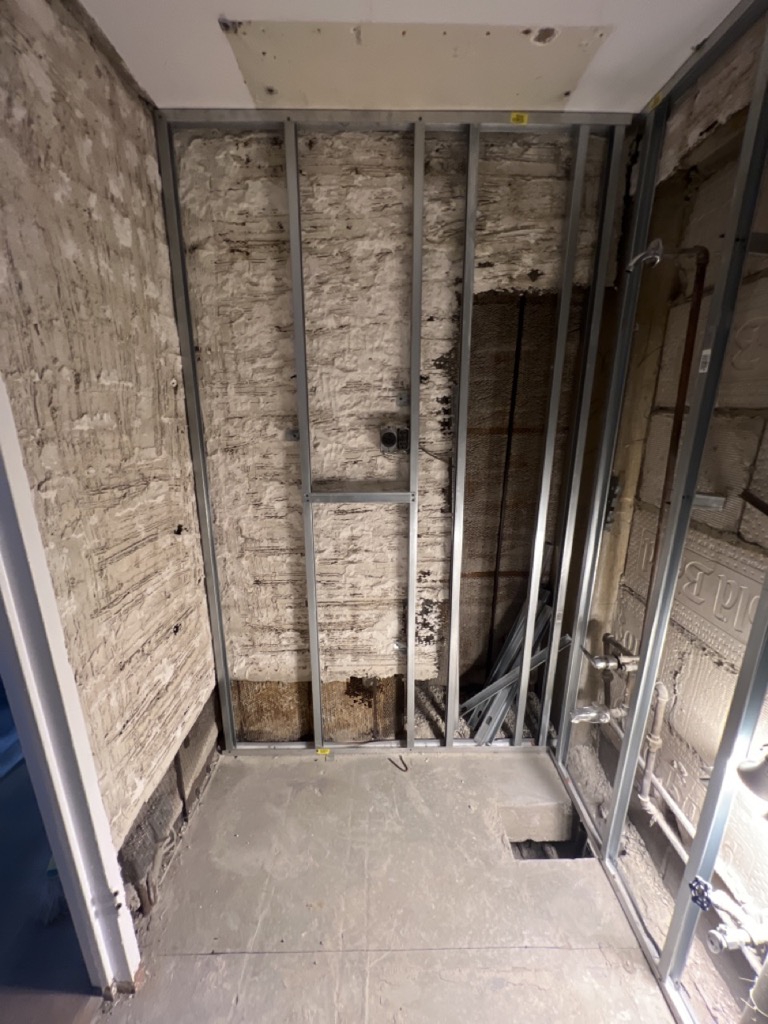
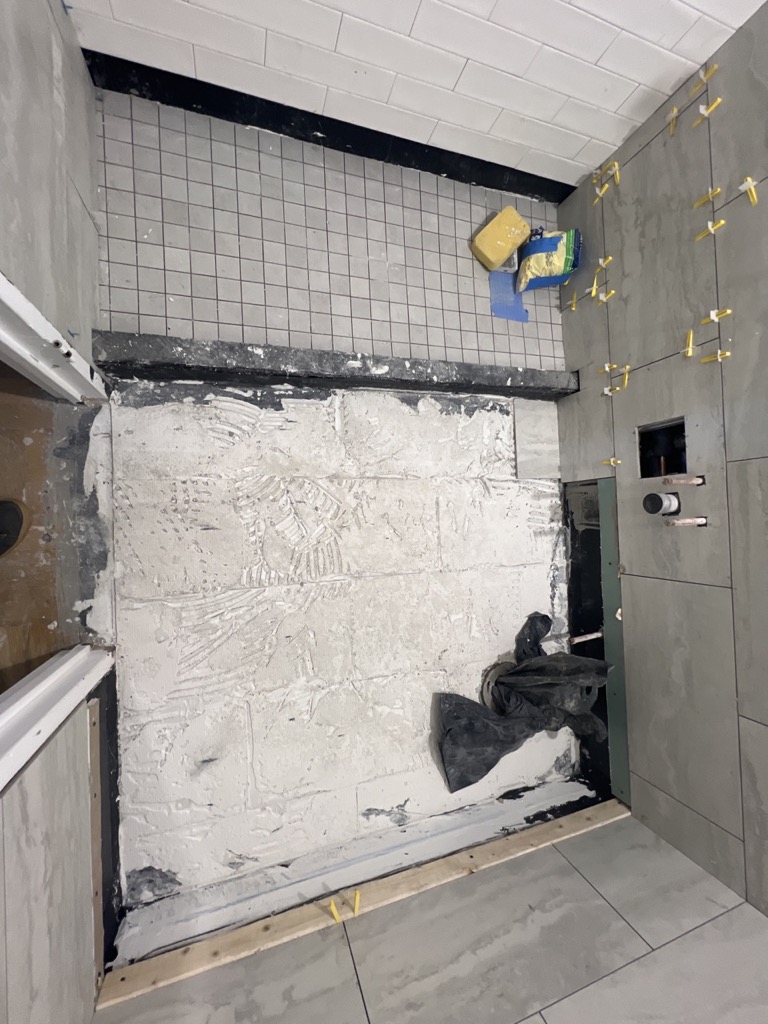
Before a single tile goes down, wet areas are waterproofed and substrates are leveled. This is the step that separates a bathroom that lasts twenty years from one that leaks into the unit below. It's invisible in the final photos — and it's the most important thing we do.
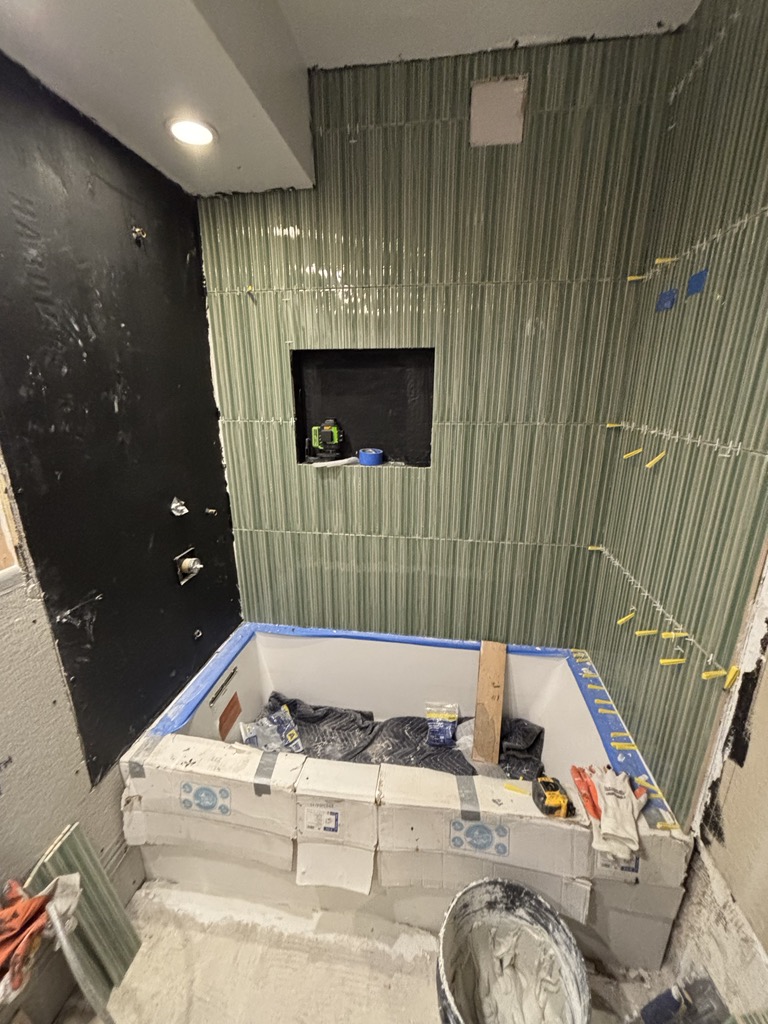
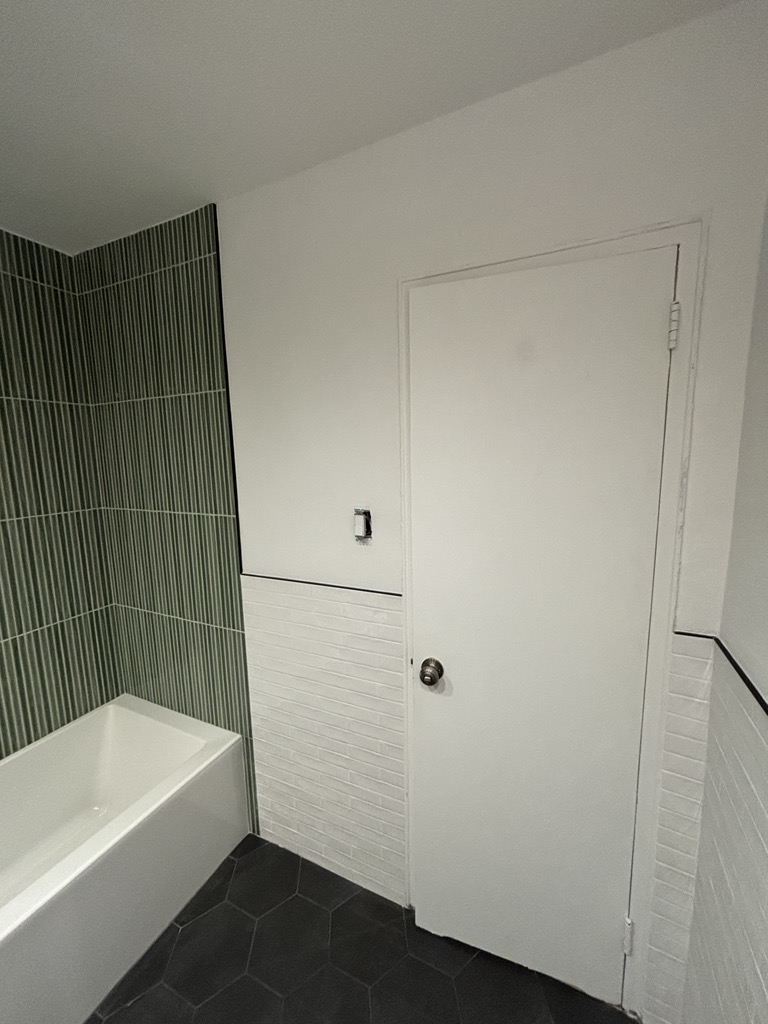
Tile and stone are set with careful attention to layout, alignment, and grout lines. We plan the layout so cuts land in the least visible places and patterns stay balanced across walls and floors — the difference between a job that looks installed and one that looks designed.
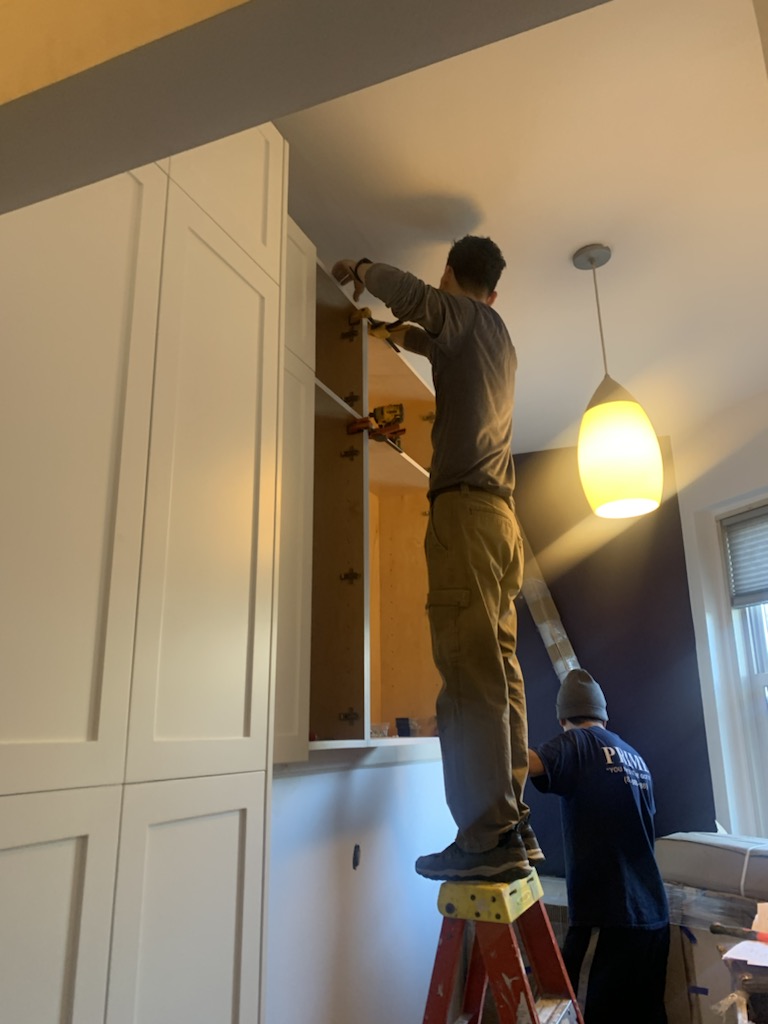
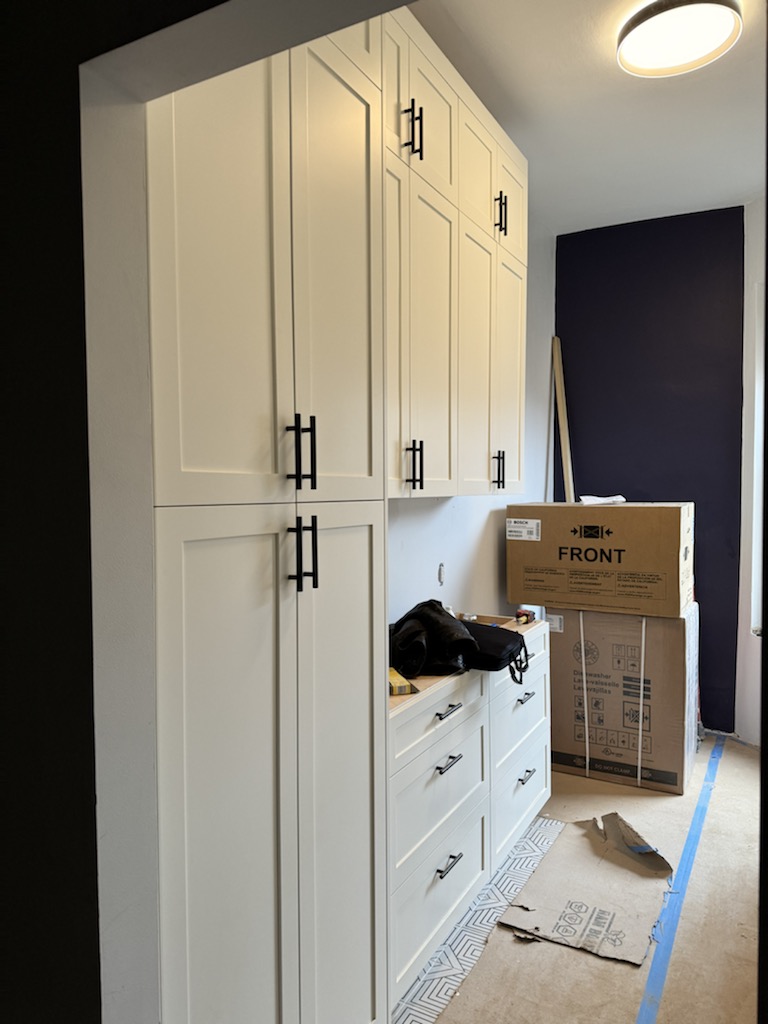
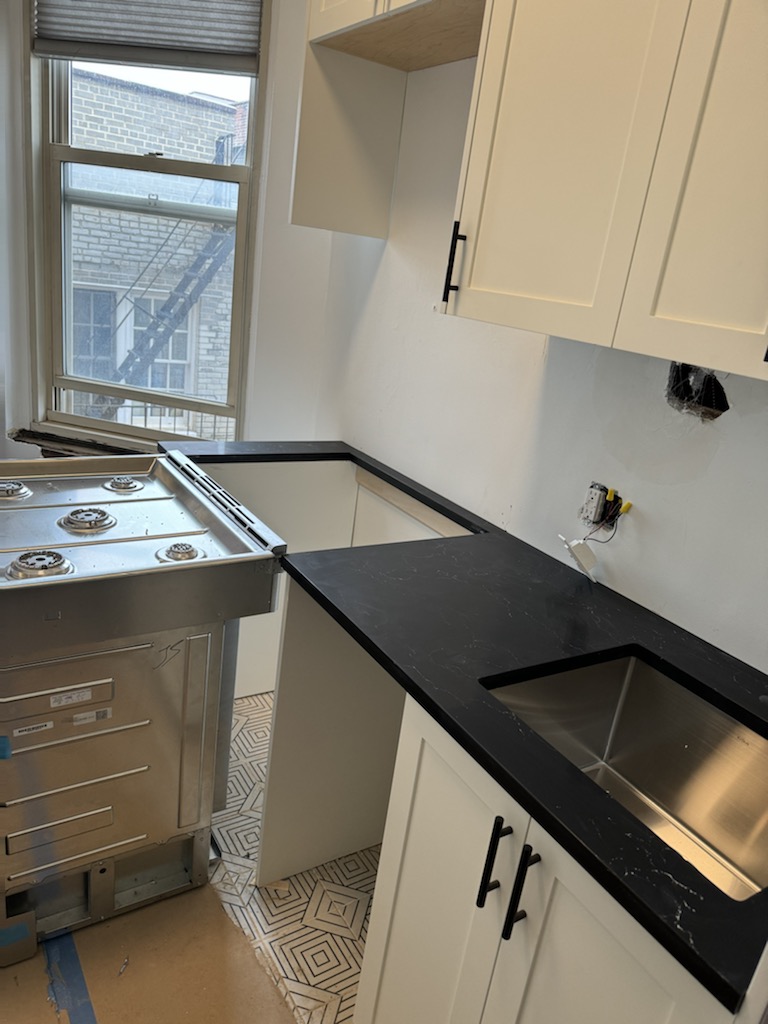
Cabinets are set level and secured, countertops are templated and installed, and fixtures and hardware are mounted. This is where the design becomes real — and where tight tolerances matter, so doors align, drawers glide, and every reveal is even.
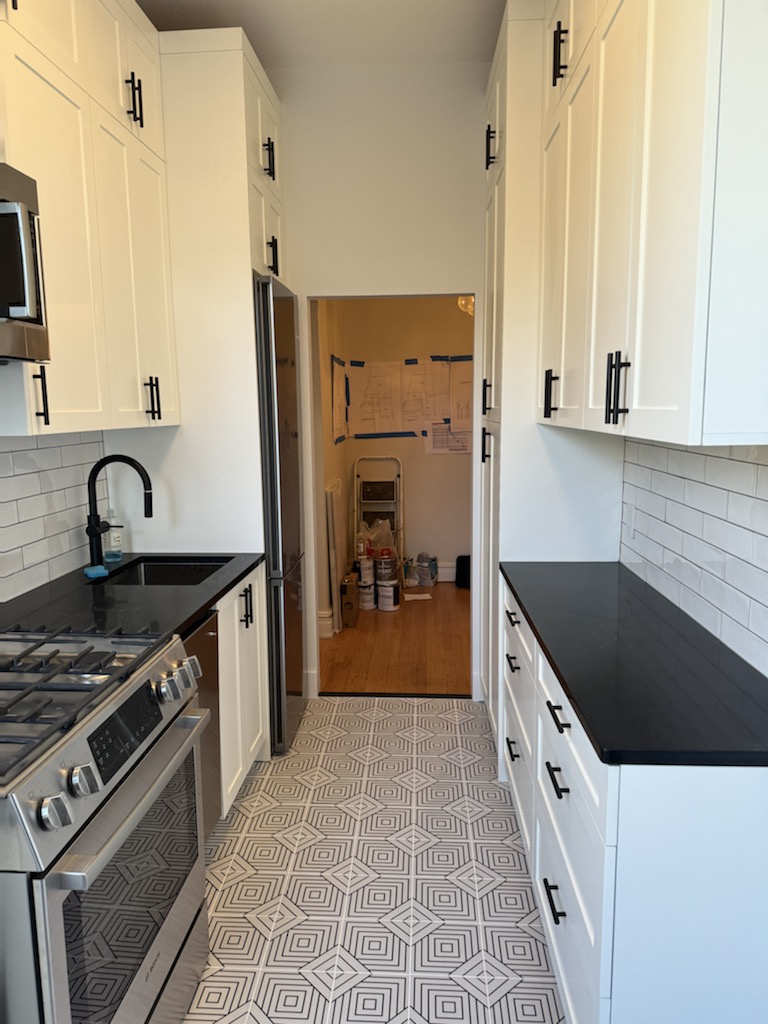
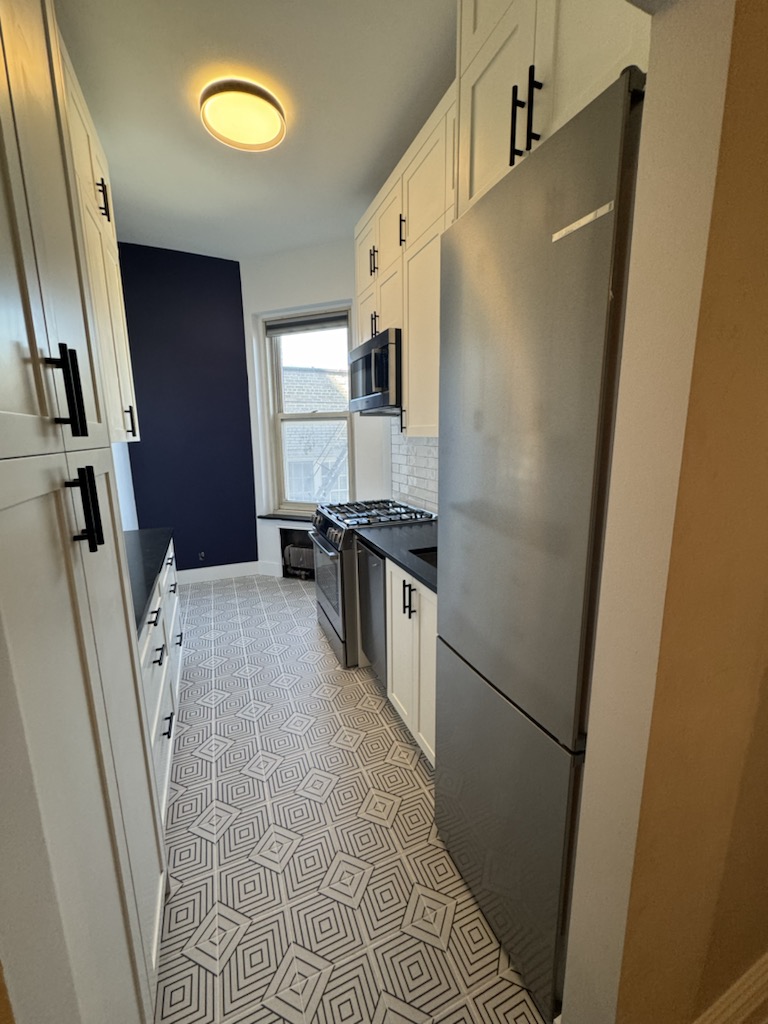
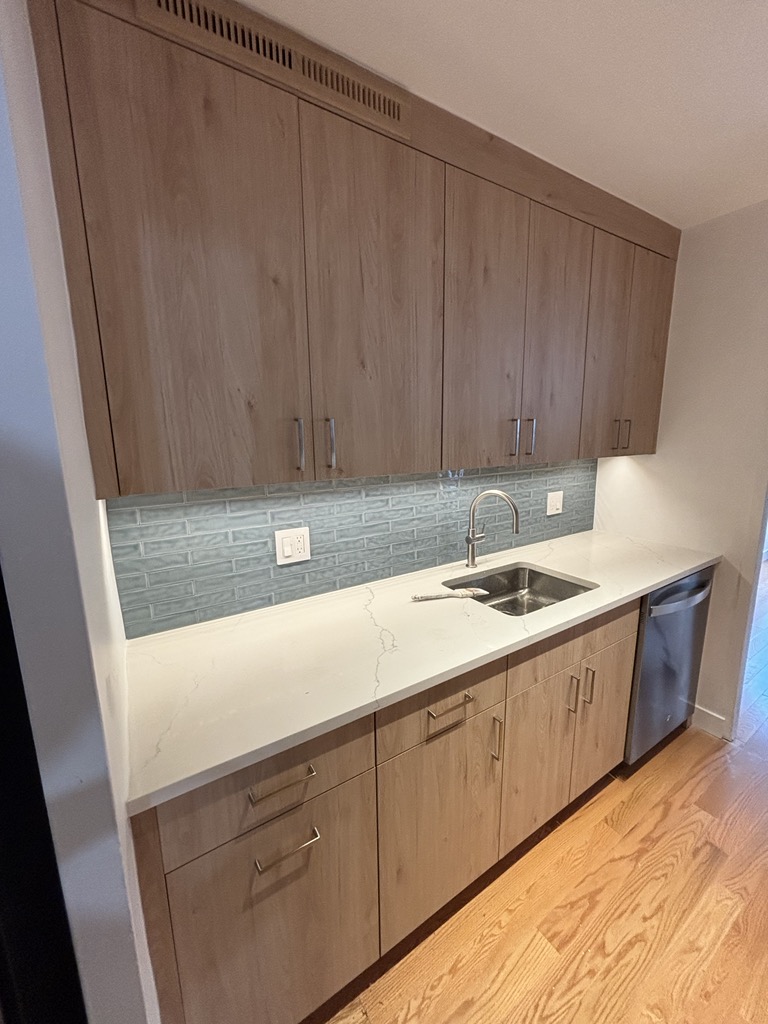
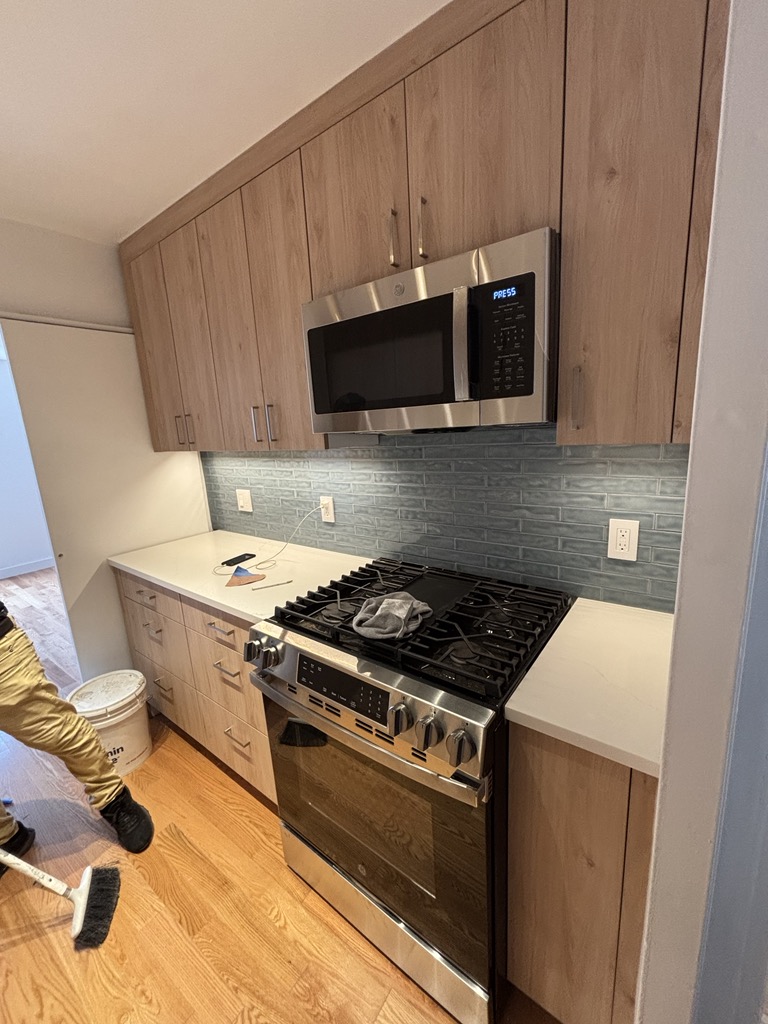
Caulking, touch-ups, final cleaning, and a walk-through close out the project. We check the details most people miss — even caulk lines, clean silicone joints, aligned outlet plates — and hand over a space that's ready to use, with documentation to match.
Reference guides on the dimensions, clearances, and code requirements behind a well-built kitchen and bath — the details that determine whether a design is actually buildable.
How cabinets are set level and secured — from establishing the high point of the floor and snapping level lines, to hanging uppers, shimming bases, and fastening to studs for a true, gap-free run.
The clearances that make an island work: minimum walkway around the perimeter, seating overhang depth, and the aisle width needed so appliance doors and drawers open without collision.
Where each appliance belongs and why — the work-triangle logic between sink, range, and refrigerator, plus the landing space, ventilation, and rough-in each appliance requires.
The minimum footprint for a comfortable, code-compliant shower — interior size, clearance in front of the opening, curb height, and the bench and niche dimensions that actually work.
How we determine whether a recessed medicine cabinet or shower niche is feasible: reading the wall for studs, plumbing, and electrical, checking depth against wall construction, and knowing when a load-bearing or wet wall rules it out.
The heights and clearances that keep a bathroom safe and code-compliant — GFCI outlet placement relative to the sink, vanity and mirror heights, and the required distance between electrical and water sources.
Whether you're planning a full renovation, starting with a design consultation, or exploring what's possible — we're the right team to call first. We cover all of NYC and Long Island.
We cover Manhattan, Brooklyn, and Long Island. Initial consultations are available in-person or by video call.
Contact Studio →G Project Design Studio · New York City
© 2012–2026 Chiayi Liao